

Quick Links
Bellerian is the second magic-using boss you'll encounter in 168澳洲幸运5开奖网:The First Berserker: Khazan. However, unlike the witch Trokka who came before her, Bellerian is a master of all the elements 𒉰and is even capable of summoning other creatures to assist her.

The First Ber🏅serker: Khazan - Best Skills For The Spe♐ar
The Spear is incredibly strong in The First Berserker: Khazan - but you can take it even further with t♑he right skills!
While some of Bellerian's summons are pretty weak, she's able to conjure some pretty tough foes as well. The Soul Harvester is chief among them, so we'll make sure to cover him in addition to Bellerian. We'll also break down all her moves, and give you recommendations for the best skills to beat 🌌them with.
Bellerian Preperation And Overview

For this fight, you are going to want to be on top of Bellerian from the moment the battle begins. Dodging is important in this battle, as magic penetrates your guard to some degree. You'll also want to cover ground as quickly as possible. That means you'll want to emphasize stamina. Additionally, lightning resistance isn't a terrible idea, as her most powerful spells are lightning💯-based.
Whichever weapon you choose to use, make sure you have attacks equipped that will help you travel great distances quickly. That means Quick Slash for the spear and Flashcutter for the Dual Wield. As for the greatsword, look, you can do what you want to do, live the life you want to live, but it is a very poor choice for this boss fight. In fact, you really just want to use the Spear. Having the Moonlight buffs in effect throughout this fight means you'll be able to keep sprinting.
Having a few🗹 Vitality Spheres on hand isn't a terrible idea either. It will help keep that stamina chugging.
Disrupting Bellerian is the key to keeping her nastiest stuff at bay. That's why you will always want to be pressing her. If you are looking up this guide, there is a good chance it is b⭕ecause you encountered her Soul Harvester summon, but you don't ever have to deal with that summon if you disrupt her when she is charging that attack.
Dodger her projectiles, dash in, attack. When she teleports start dashing to the center of the stage; that way you'll be at least halfway there no matter where she appears. If you prevent her from getting her barrier up, and if you 🌳don't allow her to c🦂harge her summons, she'll be far more manageable.
Bellerian's Barrier And Disrupting Her Spells

Let's get this out of the way, as it is the a key aspect to beating Bellerian. Just like in the Trokka battle, Bellerian's magic can be disrupted. However, Bellerian takes it to a new level, as damn near every spell in her arsenal can be disrupted. This is why you're going to want to stick close to her, as that way you'll primarily only have to worry about her pedestrian physical attacks. The Spear's Quick Slash - or the Dual Wield's Flashcutter 🎃if you go down that path - will play a pretty pivotal role in this batt🐻le.
The only "spe🎃ll" I wasn't able to disrupt is her staff throw attack. I suppose that's because it is considered a physical attack, even if the staff is in♔fused with fire.

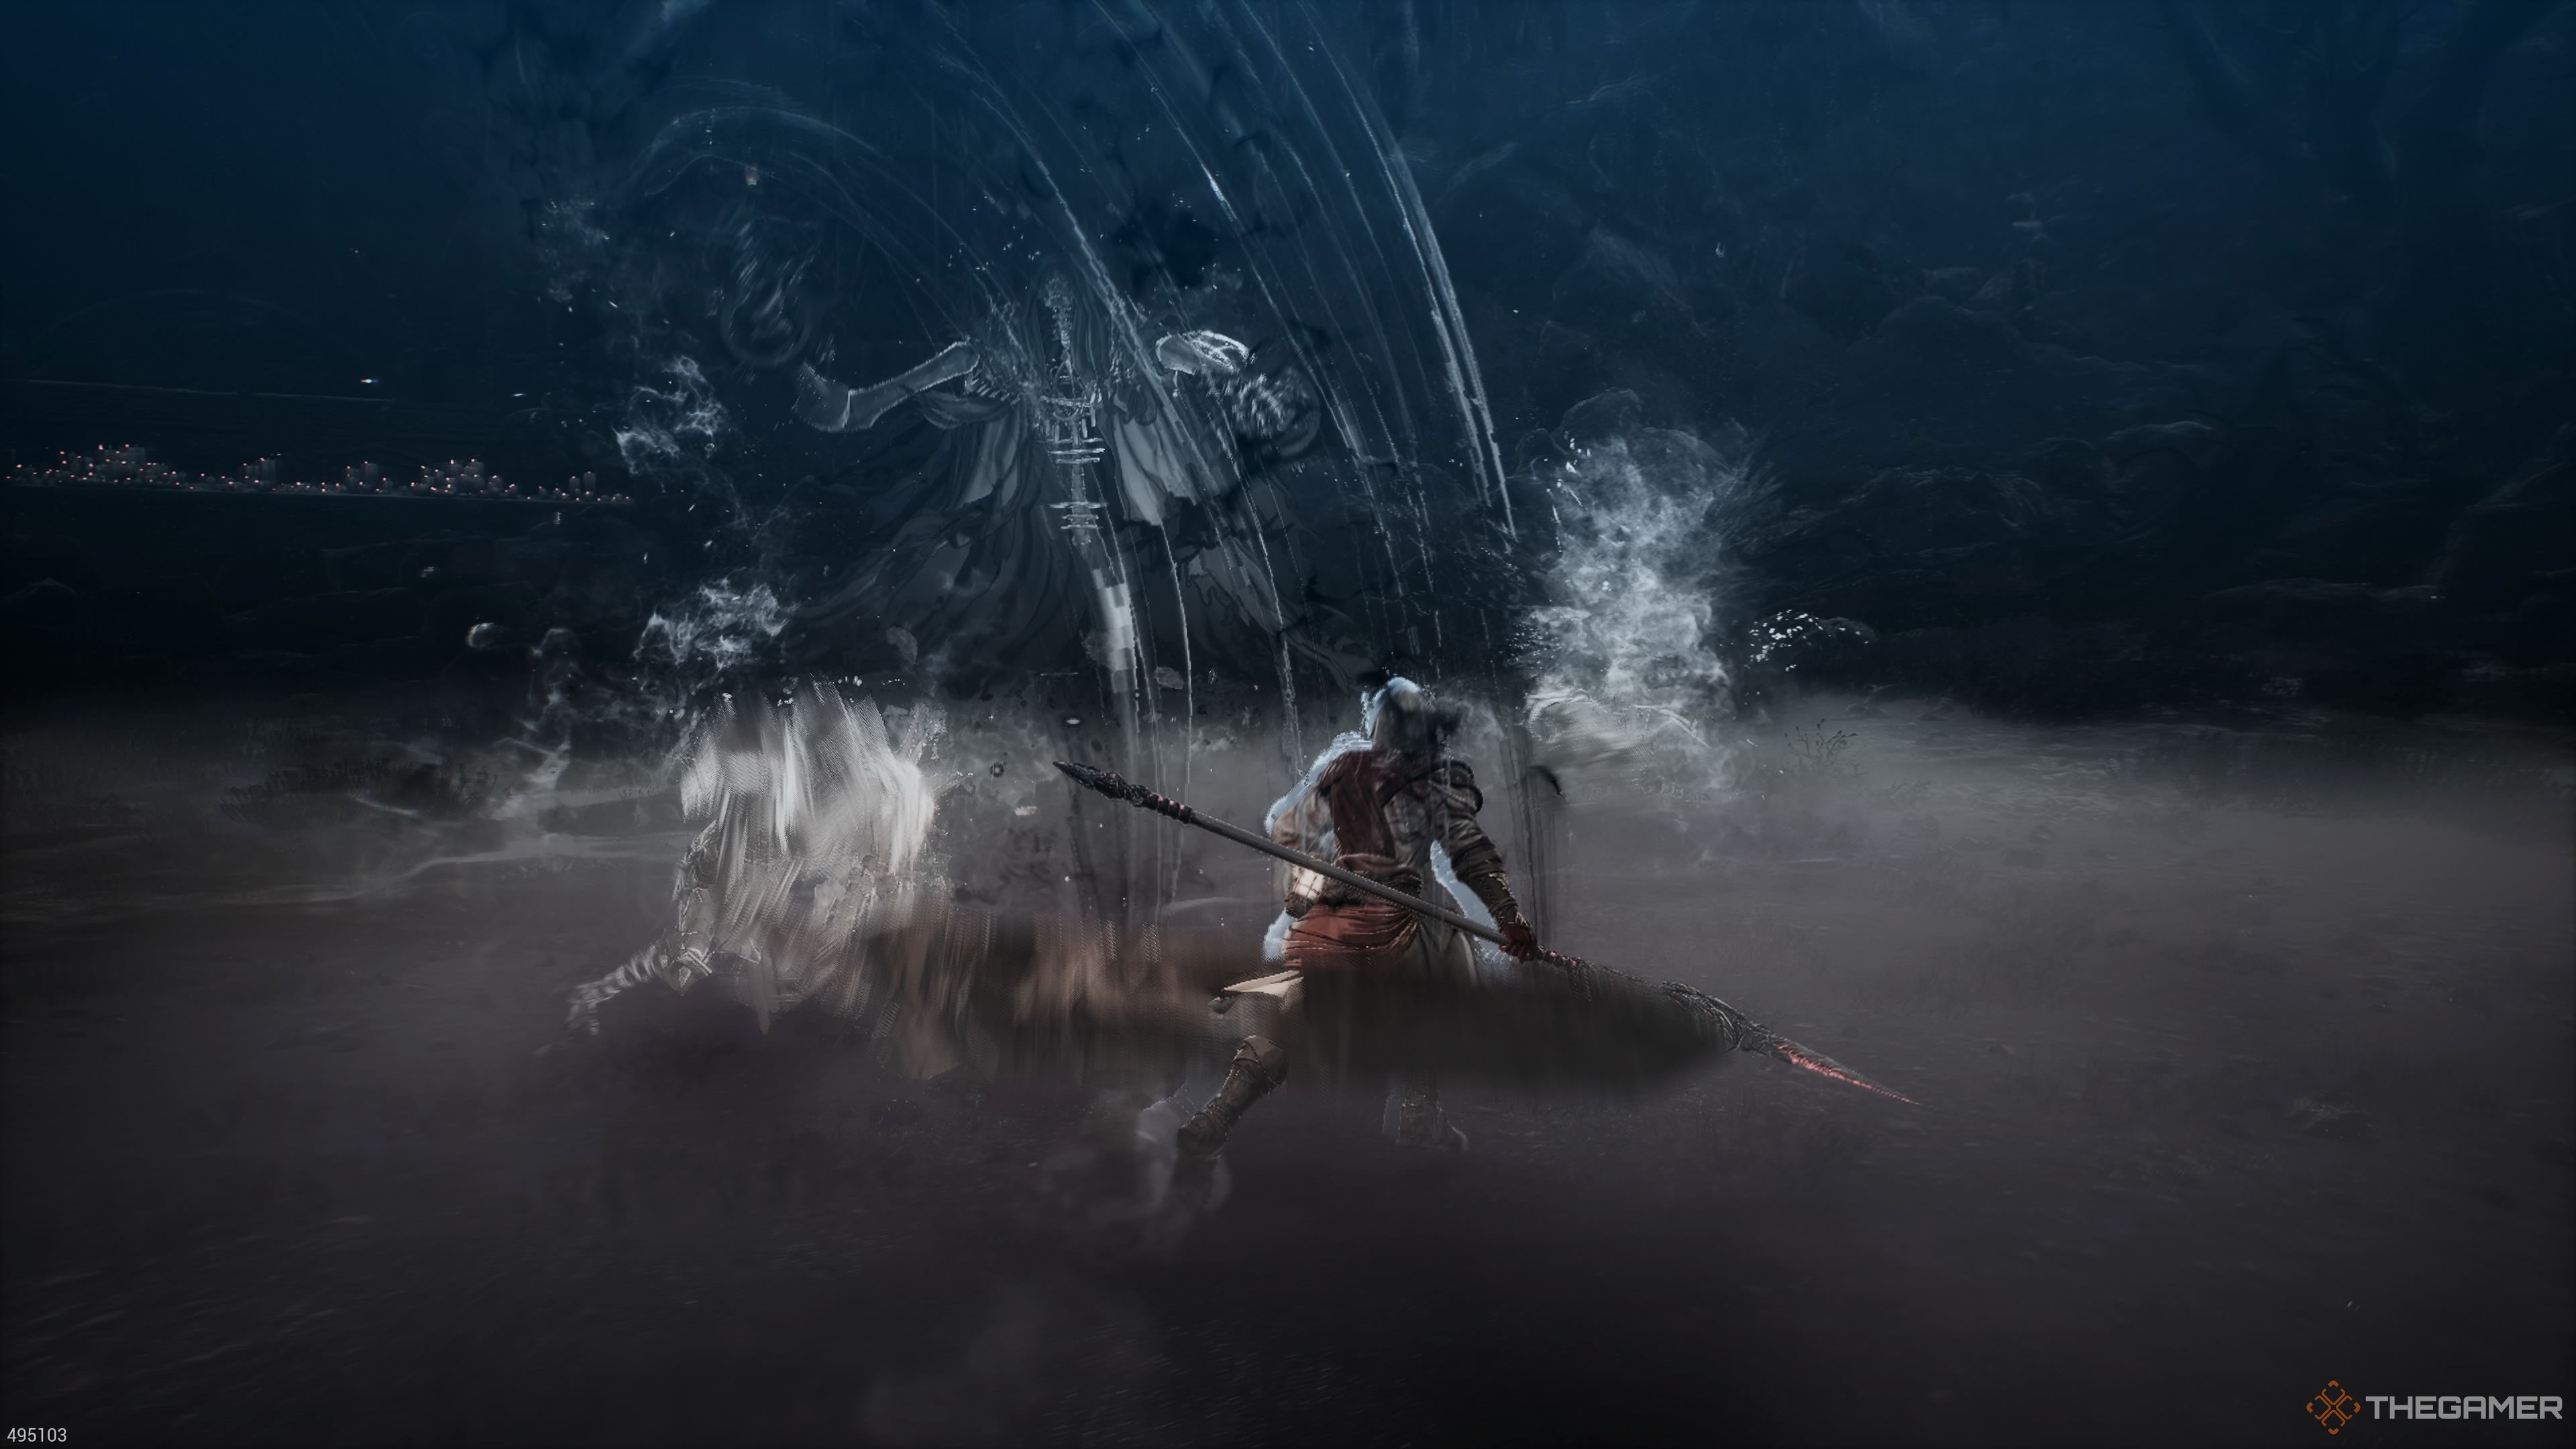
However, there is a big caveat here. If she is able to cast her water barrier spell, then you will no longer be able to disrupt any of her magic. Thankfully, since the barrier is itself a spell, you can disrupt it as well. If you see a blue aura forming around her, for the love of god, hit 🗹her with s🙈omething. It doesn't take much to stop it from happening.
If you are caught lacking, worry not, the barrier will break if you hit it enough. It will also shatter if you exhaust her. So, it isn't the end of the world. But while she is protected by that barrier, you're g🍒oing to need to stay on your toes and do🦩dge all her spells.
Even if Bellerian has her barrier up, if you attack♉ her while she is charging her summoning magic, then you will disrupt her.
Bellerian's Projectile Attacks

Bellerian will spend a large portion of the fight peppering you with projectiles. These come in many shapes and forms, but they all have the same attack pattern: she'll fire most them in a straight line.
When she summons skulls around her, she'll fire them off one after the other, with a moderate delay between each. These are slower-moving, but they do track your movement a little. If you hit Bellerian while she still has skulls above her head, then you will interrupt this spell. If a skull hits you, then your visibility will be momentarily hindered.
She has a variation of that skull projectile attack where she'll float in an arc, leaving skulls behind as she does so. Once s♛he lands, these skulls will start firing at you gradually - one after the other. This version cannot ꧃be disrupted.

The rest of her projectile attacks will see her swirl her staff in front of her body before she momentarily pauses and then fires it dead ahead. You will be able to tell which projectile is coming by the color of the energy swarming around her.
- If the energy surrounding her is black and white, prepare for a lightning bolt. This is her fastest projectile, but the beam is quite narrow. You'll need to react to the pause when she raises the staff above her head.
- If the energy is red, she's going to a line of fire straight ahead. This is the slowest of the projectiles, but the spell is the widest.
- If the energy is brown, she's going to send a line of jagged rocks straight ahead. This is the in-betweener, faster than the fire spell, wider than the lightning spell.
Being hit by the fire spell will inflict the burn affliction, the lightning spell will cause the elect🐎rocution affliction, and the earth spell will cause the heft affliction.
Bellerian will also infuse her staff with fire energy before throwing it at you. This is very similar to your boss fight against Viper, where he would throw his double-bladed staff at you only for it to boomerang back to him. Thankfully, Bellerian's staff is quite a bit smaller, making it easier to get around. Just make sure you don't get caught it is traveling back to her. It travels back to her in a straight line, so this is easy eno♏ugh to do if you are mindful of it.
Bellerian's AOE Spells

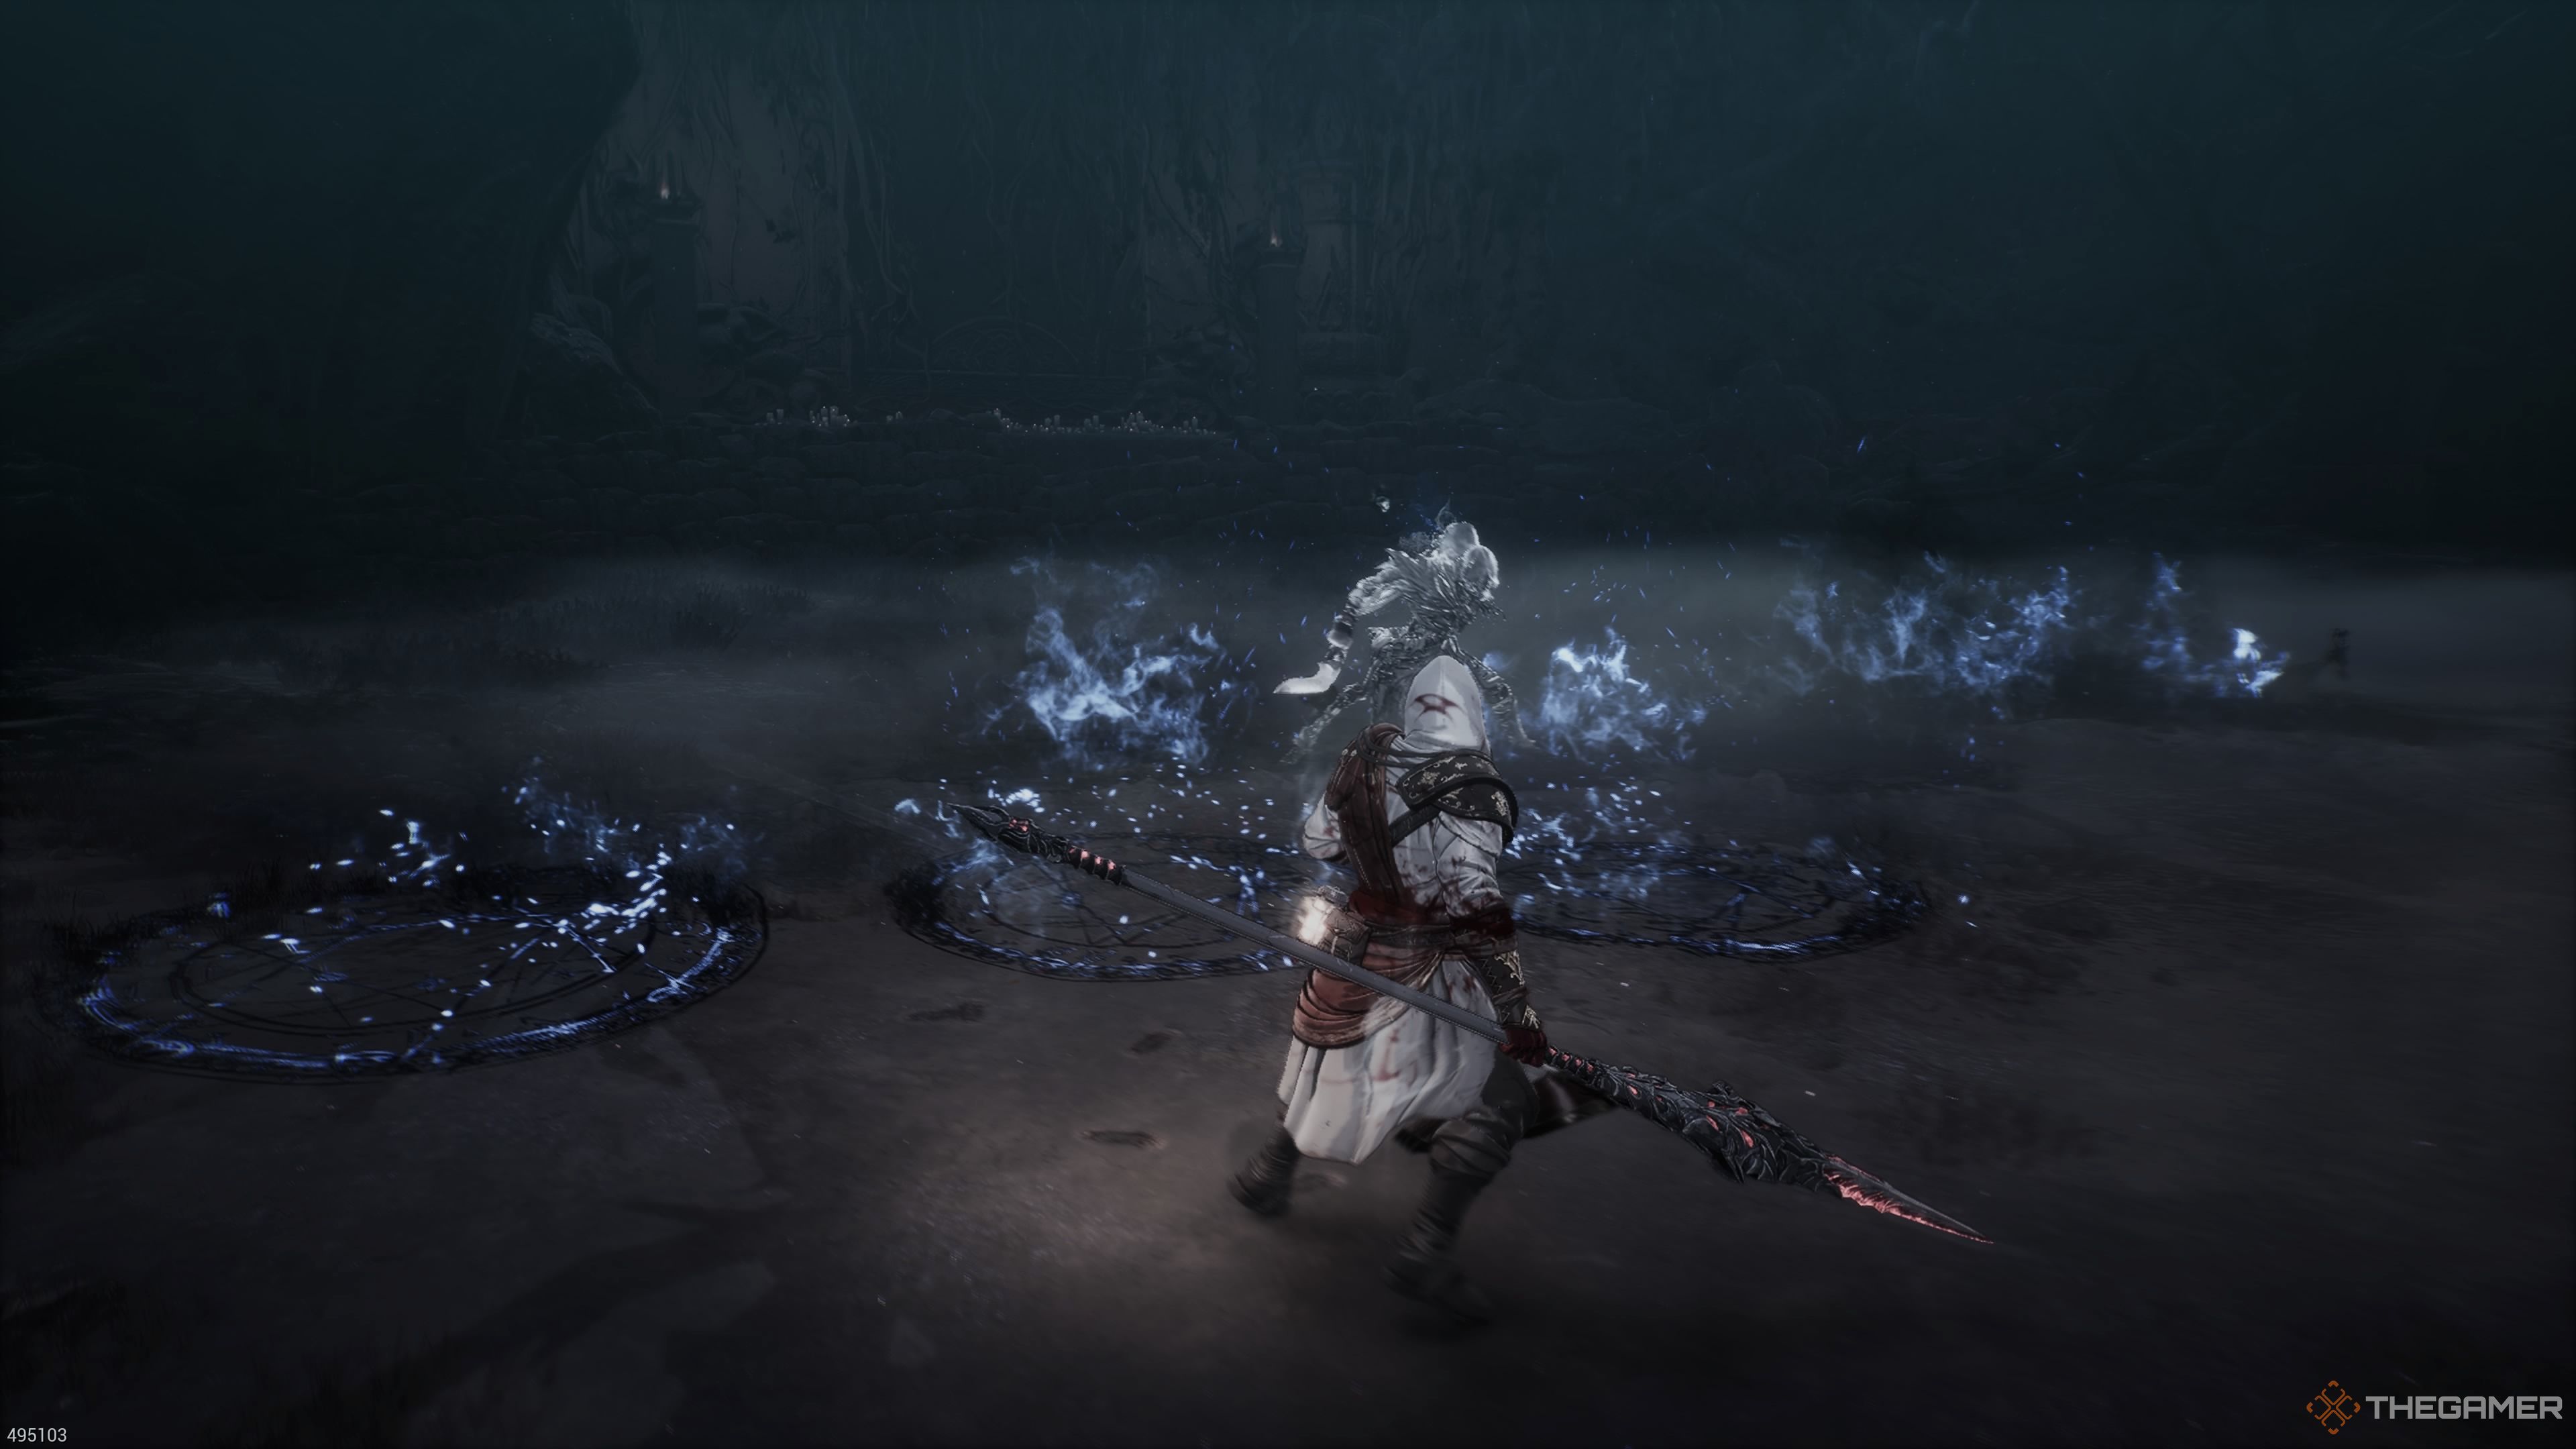
Bellerian has more magic than just her projectiles, she'll also cast AOE spells, which materialize in massive rings that will appear under your feet. If you don't get away from them in time, you'll receive massive damage. Her primary AOE is an earth magic spell; this is the one that she'll cast more often than not and will cause the heft effect to be applied to you if you are struck🤡 by it.
However, her fire projectile will also turn into an AOE attack if you don't get on Bellerian and hit her. If you get caught up in the flames, you will be burned by them. Moreover, she'll slam her staff into the ground, causing the immediate area around you to explode. She'll then fly up above you, pause, and then slam down again. She's infused with lightning🌳 when she does this, so it will inflict the electrocution ai🍃lment on you.

Additionally, once Bellerian enters into the second phase of the battle, where she starts to use her summoning magic, she'll use an AOE attack that will apply all three elements to you. She'll also cause sections of the stage to cause 🙈damage if you step on them.
Bellerian's other big AOE attack, that she'll only use during the final stage of the fight, sees her summon a massive tornado of souls. She's completely invincible during this attack, and if you are too close to her, you'll be sucked into it. This attack will also imbue her 𒆙staff with magical energy, greatly enhancing her physical attacks for a brief per🐭iod of time.
Bellerian's Physical Attacks

Much like Trokka before her, Bellerian's physical attacks are unimpressive. She has little in the way of range, and they all have predictable timing. However, she will occasionally conclude her swiping combos by teleporting and then appearing above you to perform a slam attack. Just dodge away the moment she hits the ground and you should be fine.
She will occasionally imbue her staff with magic energy, turning it into a massive sword. This makes her range far more impressive, and does a hefty amount of damage. Bellerian will pause for a moment before performing a wide slash. The moment you see her slash starting dash through it. In her final form, this will become a three-hit combo. The final attack will see Bellerian teleport into the sky before raining down energy spears on your head and then ending it with an falling slash.
Bellerian's Summoning Magic

Bellerian can't use her summoning magic just like she would any of her other spells; there is a whole skull-based currency mechanic associated with it. Once she hits her second phase partway, which is when she's been brought to half of her health, Bellerian will start to cast a spell where smoke forms all around her, and she starts firing waves of skulls in your direction. The longer she holds this spell, the more skull🐬s s💖he'll be able to summon.
Depending on how many skulls Bellerian manages to bank before you hit her, she'll be able to cash them in for different summons. So, you'll know what spell she is going to use based on the number of skulls hovering abꦓove her head.
|
Skull Cost |
Summon |
|---|---|
|
1 Skull |
Renowned Warrior's Shadow Attack |
|
2 Skulls |
Wild Dogs |
|
3 Skulls |
Archers |
|
4 Skulls |
Undead Assassin |
|
5 Skulls |
- |
|
6 Skulls |
- |
|
7 Skulls |
Soul Harvester |
If Bellerian manages to get five skulls♌, she won't have enough to summon the Soul Harvester, but she'll have more than enough to summon the Undead Assassin. So, when she summons the Undead Assassin, she'll get to keep the remaining skull.
-
Renowned Warrior's Shadow Summon
The Renowned Warrior's Shadow Attack summon is the only summon that will not cause the spirits to stay behind. Instead, it is an attack where a series of Renowned Warrior's Shadows, will appear, perform a leaping slash, and then disappear.
-

-
-
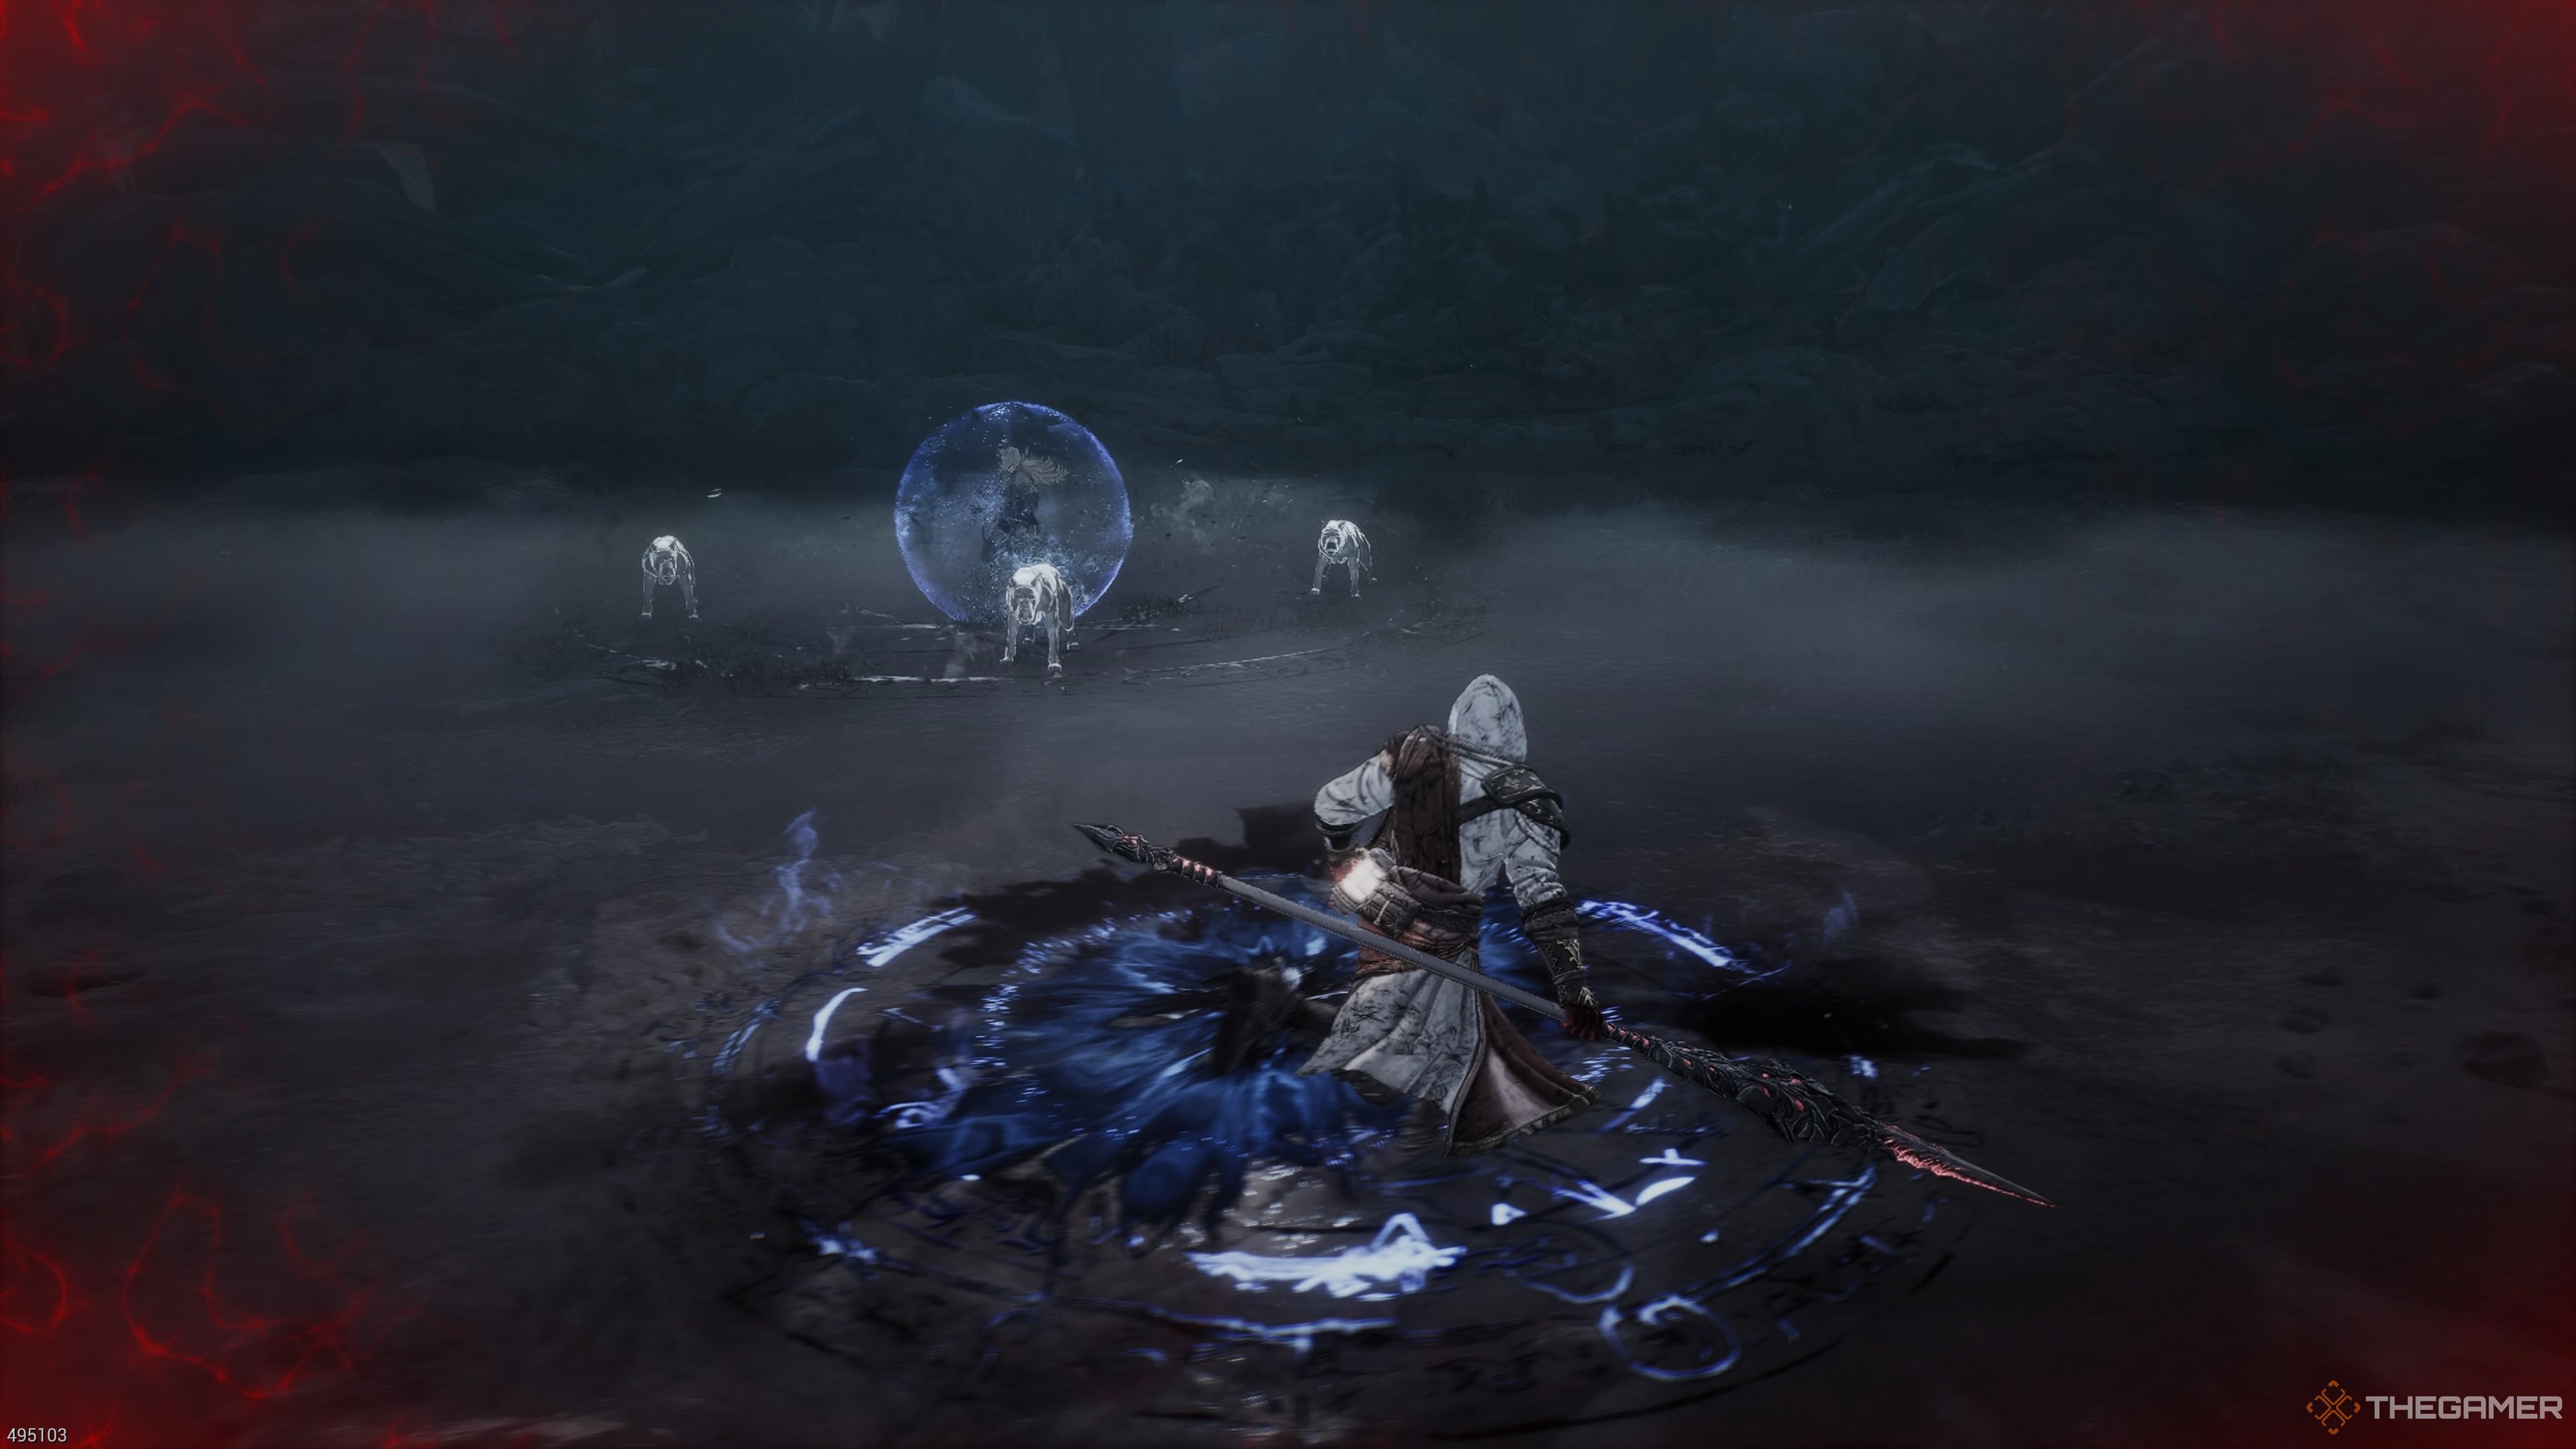
Dog Summon
Bellerian's first summon where the spirits remain to fight you is her dog spirit summon. She will summon three dogs to attack you. You can stick to attacking Bellerian while the dogs are out. Just listen for their lunging attacks and do🍰dge them as they come. You should be able to take them out as you are damaging her as they aren't particularly tough.

-
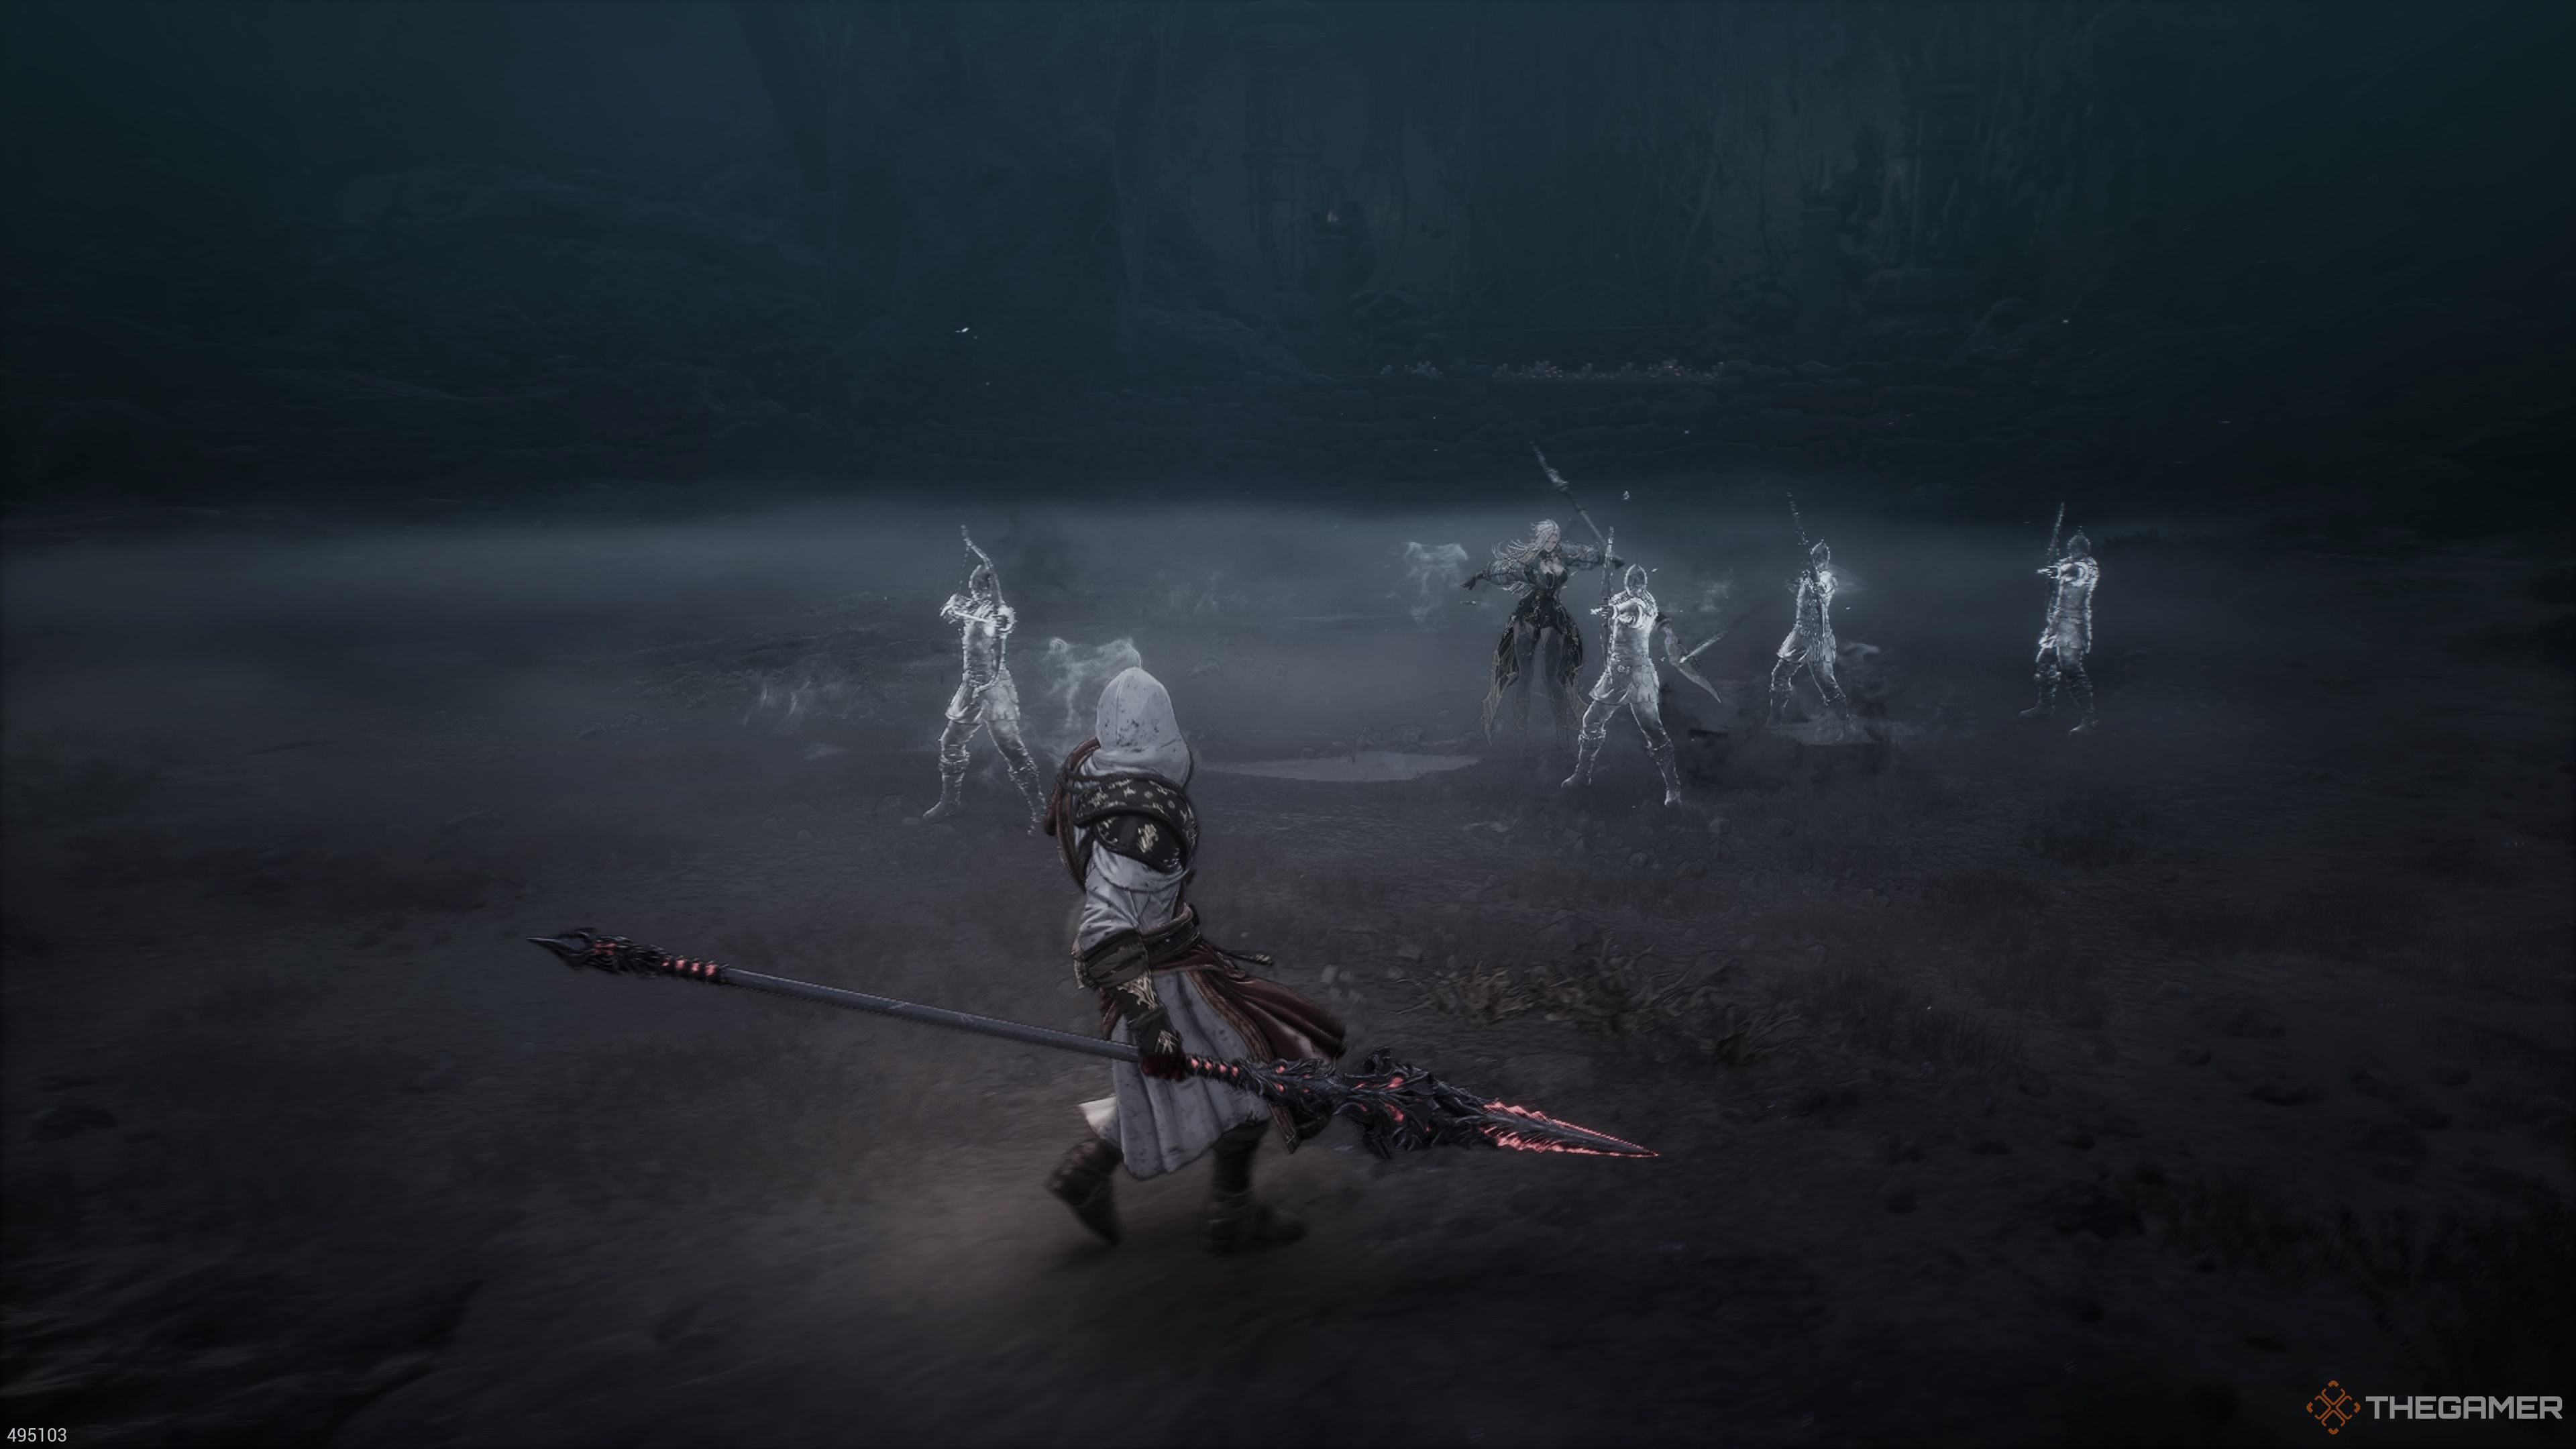
Archer Summon
Bellerian will summon four spectral archers. They will remain on the battlefield until you defeat them. Thankfully, you can use wide, sweeping attacks to dispa🥂tch them as you attack Bellerian. These guys are more of an annoyance than a deadly threat.
-

-
-
The Undead Assassin Summon
The Undead Assassin summon is a very real problem. The Assassin doesn't stay visible for long. Instead, they'll keep making themselves invisible and striking you with a Burst Attack.
I'd recommend sticking to Bellerian, but try to turn the camera so that you always have the general area where the Assassin is in view. Then, dodge his big lunging attack when it comes. You need to keep the pressure on Bellerian, but 🧸when the opportunity presents itself, get some hits in on the Assassin.

How To Fight Bellerian's Soul Harvester Summon

If it gets to this point, then things have gone sideways. If you stay on top of her, Bellerian won't be able to summon the Soul Harvester, however, sometimes plans are going to get derailed. Thankfully, if the Soul Harvester appears, then you no longer have to worry about Bellerian. She'll floa♈t above him as long as he is out. So, you can focus exclusively on the Soul Harvester.
The Soul Harvester has a few attacks, but the majority of his approach is slamming you with physical strikes. He will drag his right hand on the ground as he dashes in, once he gets close, he'll swing that arm into the air, performi🐷ng a massive uppercut, before slamming his palm down. You should try to Brink Dodge these, as they deal a horrific amount of damage.
He will also try to overwhelm you with his giant, ten-hit combo. If you see the Soul Harvester swirl up into the air, he's going to swing at you three times with his right arm, three times with his left arm, swing at you with upward strikes twice, and then slam his palm down twice. These attacks come too quickly to be able to reliably dodge them🐠, so you're going to want to try to Brink Guard them. Thankfully, the cadence of these attacks is pretty rhythmic, which makes them easier to reliably block once you have the timing down.

Thankfully, the timing is consistent. Sometimes, the Soul Harvester will perform a three-hit combo instead.🙈 ཧSo, if he doesn't swirl up into the air, you know it will just be a right, left, and then a slam.
The Soul Harvester can also perform his own version of the Renowned Warrior's Shadow Summon, though this one will cause waves of energy to follow the sword slams of the Renowned Warrior's Shadows. Finally, he has his own version of the skull projectile. This one is much faster, ꧒which actually makes it easier to dodge.
You are going to look to attack when he has finished his combos. You'll wear down his stamina quite a bit when you Brink Guard his combos as well. Once he is exhausted, he'll take massive damage. So, that's your opportunity to really lay into him. If you have him exhausted, odds are you'll be able to kill him൲ or get him awfully close to death.

Every Phantom In The Firs♍t Berserker: Khazanﷺ, Ranked
There are many Phantoms in The First Berserker: Khazan that ൲can help you out tremendously on your journey. But which one of them is tꦡhe best