

Quick Links
The most quintessential aspect of gameplay is discoveri⛎ng new powers through exploratꦑion, which unlocks more exploration to find more powers. That's the through-line of every Metroid game, and Retro Studios found great ways to adapt that to a 3D world.
The order you get them in is never set in stone, and plenty of people like to break the sequence for a greater challenge. This was written for the most comfortable flow, and the order the game most feels designed for. Here's how to acquire every suit upgrade; the mandatory weapons, visors, and suits as well as the optional Charge Combos. You'll need to be 168澳洲幸𝄹运5开奖网:a force to be reckoned with by the end.
Missile Launcher

Chozo Ruins: Hive Totem
When you get to the Main Plaza, the first open area of Chozo Ruins, follow the path to the back half of the area and take the door that’s sunken into the ground. Save at the save room, attached to the Ruined Nursery, then proceed until you find a large, slanted ci🔯rcular room.

Try to grab the missile icon floating at the end of the bridge, and it's suddenly swallowed up in ancient machinery — time to fight the Hive Totem. The room fills with toxic water, trapping you on the platform, and War Wasps attack.


The wasps will circle you and occasionally stop to swoop in and attack. Try to stay in the middle of the platform and just spin around in place to find stationary wasps to wipe out. You can shoot t𒆙hem as they move, but it’s mu𝓀ch harder. They’re sitting ducks when they stop.

Once all the wasps are gone, turn immediately to the Hive Totem. Its beak will be open, displaying a bright red weak point as it calls for more wasps. Shoot that until the beak closes. It will rotate and open another beak, and more wasps will come at you.

Repeat this a couple of times until the Hive Totem is defeated, and you can finally grab the Missile Launcher. Better yet, go through the door ahead of you to grab the first Energy Tank in the game.
Morph Ball
 Chozo Ruins: Ruined Shrine
 Chozo Ruins: Ruined Shrine
Now that you’ve got the missiles, go back into the Main Plaza and wrap around to the other door on the same side, also ground level, with a Blast Shield over the door. Blast it with a missile to unlock the door and proceed into the Ruined Shrine.


You'll find the Morph Ball ability, but it will get snatched away, too. A hoard of beetles emerges from the ground. Defeat them, and they're followed by a Plated Beetle. Defeat it with your dodge skills and timed attacks, and the wall blocking you from the Morph Ball upgrade will fall out of the way.
Charge Beam
 Chozo Ruins: Watery Hall
 Chozo Ruins: Watery Hall
Follow the rising platforms around the back end of the main plaza, across the bridge, and past the War Wasps. Take the right-hand door in the ruined fountain, straight ahead through the Arboretum to the same-level door on the opposite side. To your right is a Save Station. Use it and proceed straight ahead to the door in the back corner, through the watery hall access, and into the Watery Hall.

Hop up the blocks and platforms, watching for Reaper Vines, and you’ll find yourself at a large gate with four circular runic signs around a circular hole of the same size. You’ll need to scan the matching runes in the room to open the gate.

Turn immediately to your right for the first one, and another is below you on the wall directly below the gate.

Drop to the ground-level platforms and look for the patch of Blast Caps. Clear them out with your beam and uncover a third rune to scan.

Continue forward, get the Reaper Vine out of your way, and look straight ahead, right next to the door for the final rune.

Now return to the gate, where the𓆏 hole in the center will ha𓂃ve a fifth rune.

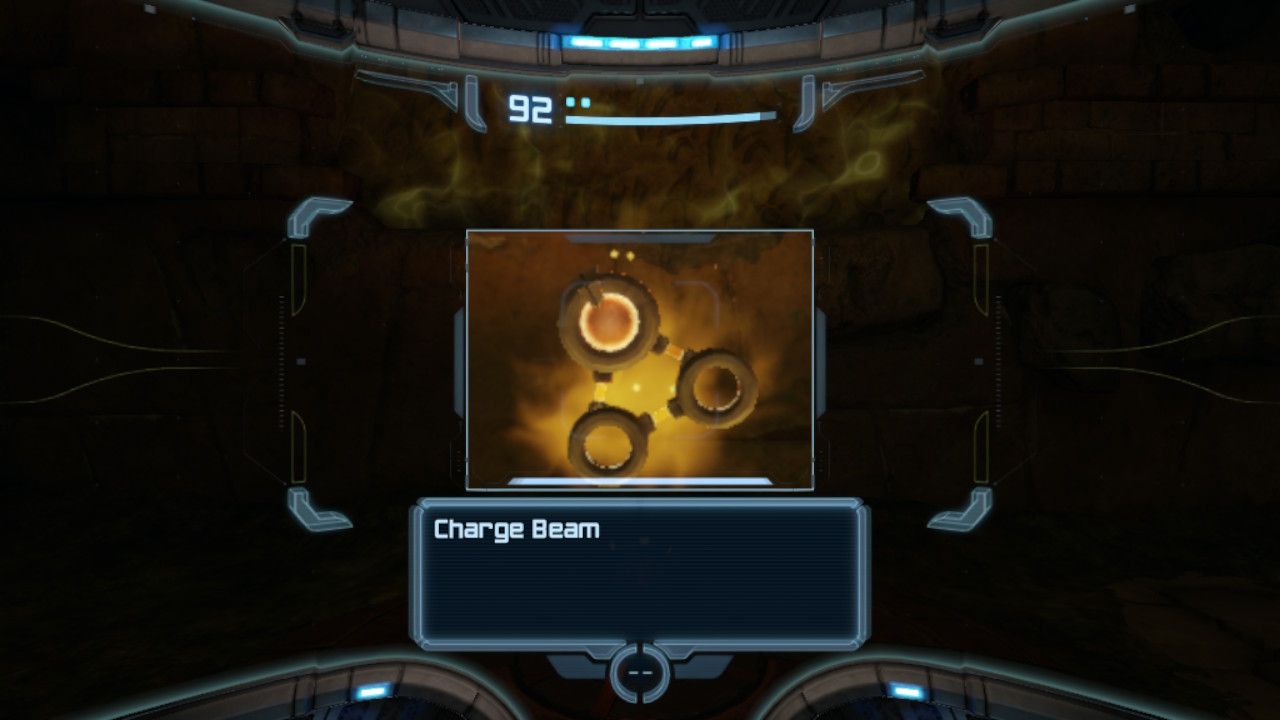
Scan that, and the gate will come down, allowing 💮you to cross over to grab the charge beam.
Bomb Ball
 Chozo Ruins: Burn Dome
 Chozo Ruins: Burn Dome
Return to the Gathering Hall and save, then proceed up the platforms that ascend around the room to a ball tunnel, bridge, through the door, then hang a left at the Energy Core through some ball tunnels to the Burn Dome.

Suddenly the name "Burn Dome" makes sense. Time for another mini-boss, the Incinerator. Avoid its flames by circling around it. When its poles are tilted, jumping or rolling under the flames can also work. You also need to survive attacks from the agitated War Wasps coming from the hive above.

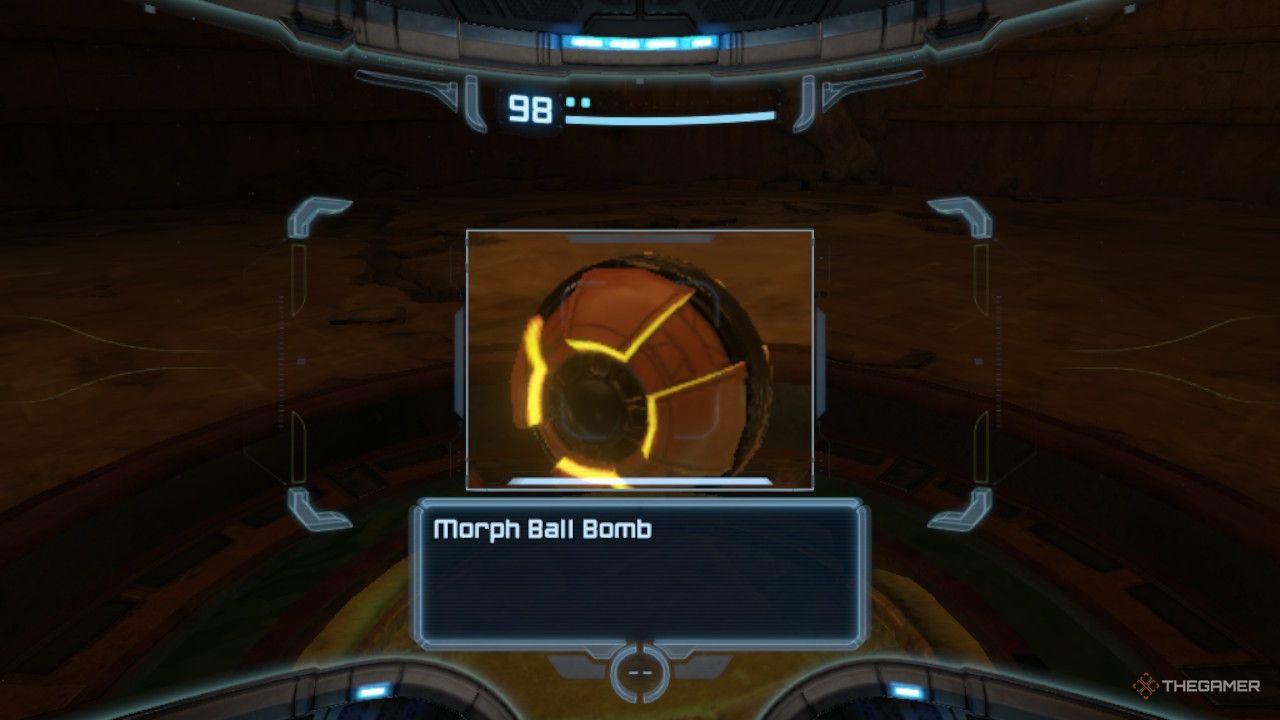
When a large red button comes out of the top of the incinerator, shoot it, and the flamethrower will point straight upward at the hive. Keep at it until the incinerator and wasps are both down, and the iconic Morph Ball Bomb is yours.
Varia Suit
 Chozo Ruins: Sun Chamber
 Chozo Ruins: Sun Chamber
There's another rune puzzle in the Arboretum, solved in the same way as the one in the Water Hall. Fin🌄d the four runes that correspond to the gate and sca🐎n them to activate them.


Two are on the tree (one facing the gate, one down by the first brꦓidge).

One is on the wall just past the first ball tunnel, and the hardest one is hidden under some Blast Caps and Venom Weed.

With the gate open, drop a bomb to go through the tunnel and squeeze past all the venom weed and reaper vines to Flaahgra, Chozo Ruin's main boss.

To defeat Flaahgra, race around the room flipping the reflectors back up. Prevent Flaahgra from knocking them back down by staggering it with missiles and charged attacks.


Once the sun's rays aren't feeding it, it’ll collapse and open up a trench that you can roll into and bomb. Do this about four times and the Varia Suit will be near the room’s exit, looking tantalizingly like a Screw Attack.


Boost Ball
 Phendrana Drifts: Phendrana Canyon
 Phendrana Drifts: Phendrana Canyon
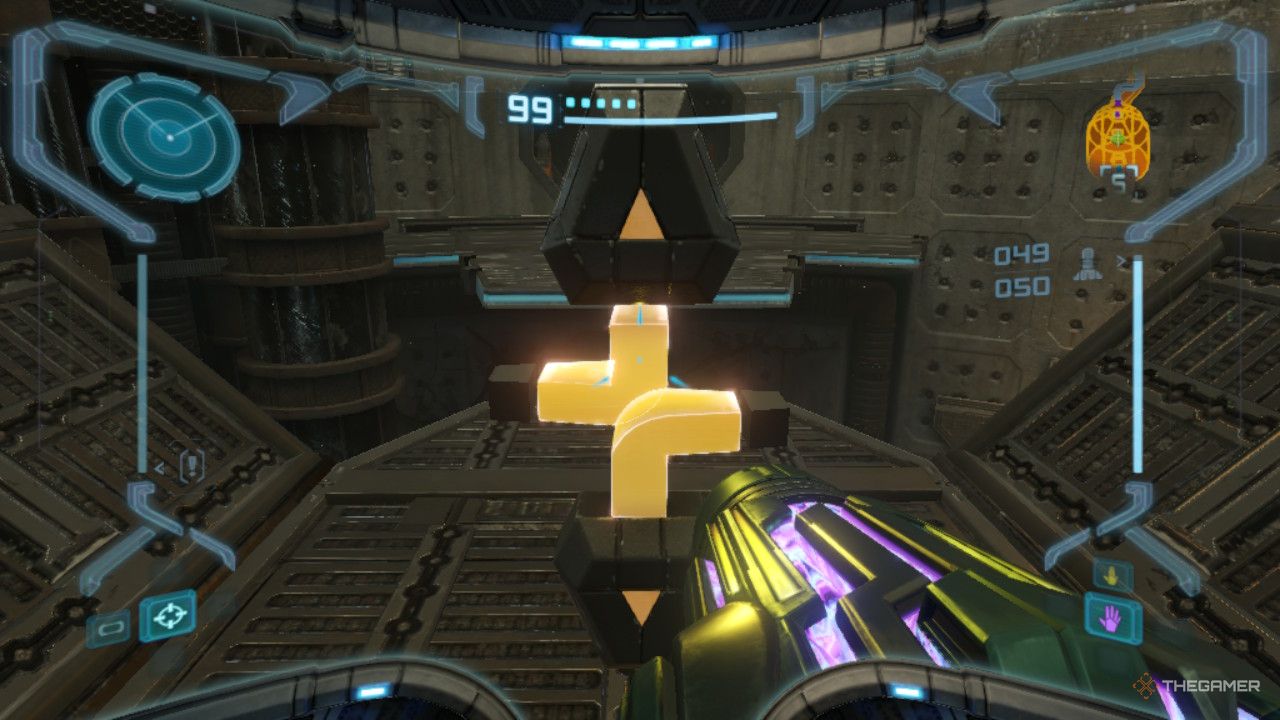
In Phendrana Drifts, proceed through Ice Ruins East and Ice Ruins West to reach Phendrana Canyon. Drop off the walkway into the part of the canyon immediately before you, defeat the Baby Sheegoth, and look up to your right. You’ll see a control panel.


Scan it, and several floating platforms will move into place, allowing you to reach the Boost Ball. Use your new abilꦬity to reach the side of the canyon and return to the entrance.
Space Jump

Tallon Overworld: Landing Site/Alcove
Go through Magmoor Caverns into the Fiery Shores room to the Tallon Overworld West elevator. You’ll end up back in the large room you saw at the beginning, just before you got to the Chozo ruins. Use the half-pipe here to boost over to the left-hand side.

Follow that path until you cross a small bridge and see a rectangular metal box embedded in the wall. Use a bomb to blow it open.

Follow this path until you reach the Landing Site, and keep going along the elevated platform to a door on the left. Open it, and you’ll find the Space Jump boots in a small alcove.
Wave Beam
 Phendrana Drifts: Chozo Ice Temple
 Phendrana Drifts: Chozo Ice Temple
Ascend to the top of the room, and you’ll find a hallway with a Chozo statue. Tucked away to the right of it, in a corner, is an exit with a metal gate covering it.

Scanning the gate gives you a clue - you need to look for a Chozo face similar to what’s on the gate. Return to the hallway area on this level and look at the Chozo sculptures on the walls🌄.


The one on the wall to your left, when you're facing away from the large Chozo statue, says it’s Brinstone. In other words, it can be broken with a missile. Shoot it, and a ball slot is displayed.
Ball-jump in there and detonate a bomb, and the gate will open. Travel through the short ball tunnel using bombs against the metal boxes and crumbling lower portions of those poles. You enter a room where the Wave Beam sits unattended at the very back of the room, which should set𝓀 off your spidey-senses.


The wave beam disappears as you approach it, and two baby Sheegoths are after you. Two more are waiting their turn, so as you take out one, another will appear.


When they’re all gone, the big daddy Sheegoth arrives. It collects energy over its crystal spines, so beam attacks are a no-go. What you need to do instead is hit it in the mouth and head with missiles. After it uses its freeze breath, it'll exhaust itself, and stand there, open for attacks.

Once it’s down, the Wave Beam will reappear, and it's yours.
Super Missile
 Phendrana Drifts: Observatory
 Phendrana Drifts: Observatory
Once you’ve cleared out the space pirates, scan the computer in the very middle of the bank of consoles. Two morph ball slots will activate on either side of the room.


Go detonate a bomb in each, and the huge contraption in the middle of the floor will turn on. Drop down to the bottom level (you don’t have to unroll) and go to each of the four spinners around the big contraption in the center.


Each one will have you lower a part of it, and once they’re all extended, you'll see it's a projector. There’s a huge holographic solar system in the middle of the room, and the rest of the platforms leading to the top floor have extended.


At the top, you’ll find a Save Station, a hanging platform in the middle of the room with the Super Missile in it, and on the other 𒈔side, more progression through the area.
Thermal Visor

Phendrana Drifts: Research Core
It's best if you know how to do this one from the start. As you make your way down the research core, scan the computers. When you scan one with a red icon, a security field around the Thermal Visor at the bottom of the room will disappear.


Do it again at a second computer, and then a third at the very bottom, and the visor is yours.


The catch is that the lights immediately go out to the whole station, so you'll need to use the thermal visor as you fight off metroids on the way up, and the whole journey back to the Ruined Courtyard.

When you reach the top of the room, your Thermal Visor will show you a circular conduit next to the door. Shoot it with your Wave Beam in order to return power to the door and leave the room.