

Quick Links
As the name would suggest, The Siege Part 2 is the second part of the siege storyline in 168澳洲幸运5开奖网:Doom: The Dark Ages. This ꦫtime you'll be stomping through the stronghold itself, wiping out demons in the hallowed halls, and finding secrets as you do. Unlike the massive battlefield you fought your way through previously, this ౠone is a far more linear affair. However, it will cause you to do a little backtracking here and there.

Doom: The Dark Ages - Every Secre𝓰t And Collectible In The Siege 🦩Part 1
Thiꦆs guide will help you navigate one of the most open areas in Doom: The Dark Ages.
While this is a much shorter stage, it is worth noting that there are multiple points of no return, so, you'll wꦦant to make sure that you collect everything before moving on to the next section of the stag🧜e. But worry not, this guide will make sure to give you plenty of forewarning while also leading you directly to each secret along the way!
|
Secrets |
9 |
|---|---|
|
Gold |
183 |
|
Rubies |
2 |
|
Demonic Essence - Armor |
1 |
|
Codex |
1 |
|
Toy |
1 |
The First Life Sigil

You'll start off in the courtyard with another turret section. Once you complete it, head straight for the corpse of the Titan demon and take a left. There is a climbable wall ♓in the back corner. After break🍸ing through a boarded-up entryway, a Mancubus will smash through the wall. Kill them, and then perform a Shield Charge on the massive block to shunt it to the other side of the room.
Don't follow that block! Instead, smash through the plank wall that was behind that massive block, and hea𒀰d into the secret room. After you kill the Hell Knight𓃲, collect the gold as well as a Life Sigil.
The First Treasure Chest

After clearing out the Secret Area, climb up the box you pushed, and then up the wall. Don't progress forward. Instead, look up. There is another climbable wall right next to you.🃏 Scale it to get to the treasure chest. Then jump down on the Arachnotron, and pull the nearby switch.
The Revenant

After you cross the courtyard, you'll face off against a new enemy: the Revenant. These guys will fire a steady stream of skulls at you while attempting to stay out of reach. However, your shield charge ability will nip that in the bud. Rush them and crush them with your charge and melee attacks.
Tons Of Gold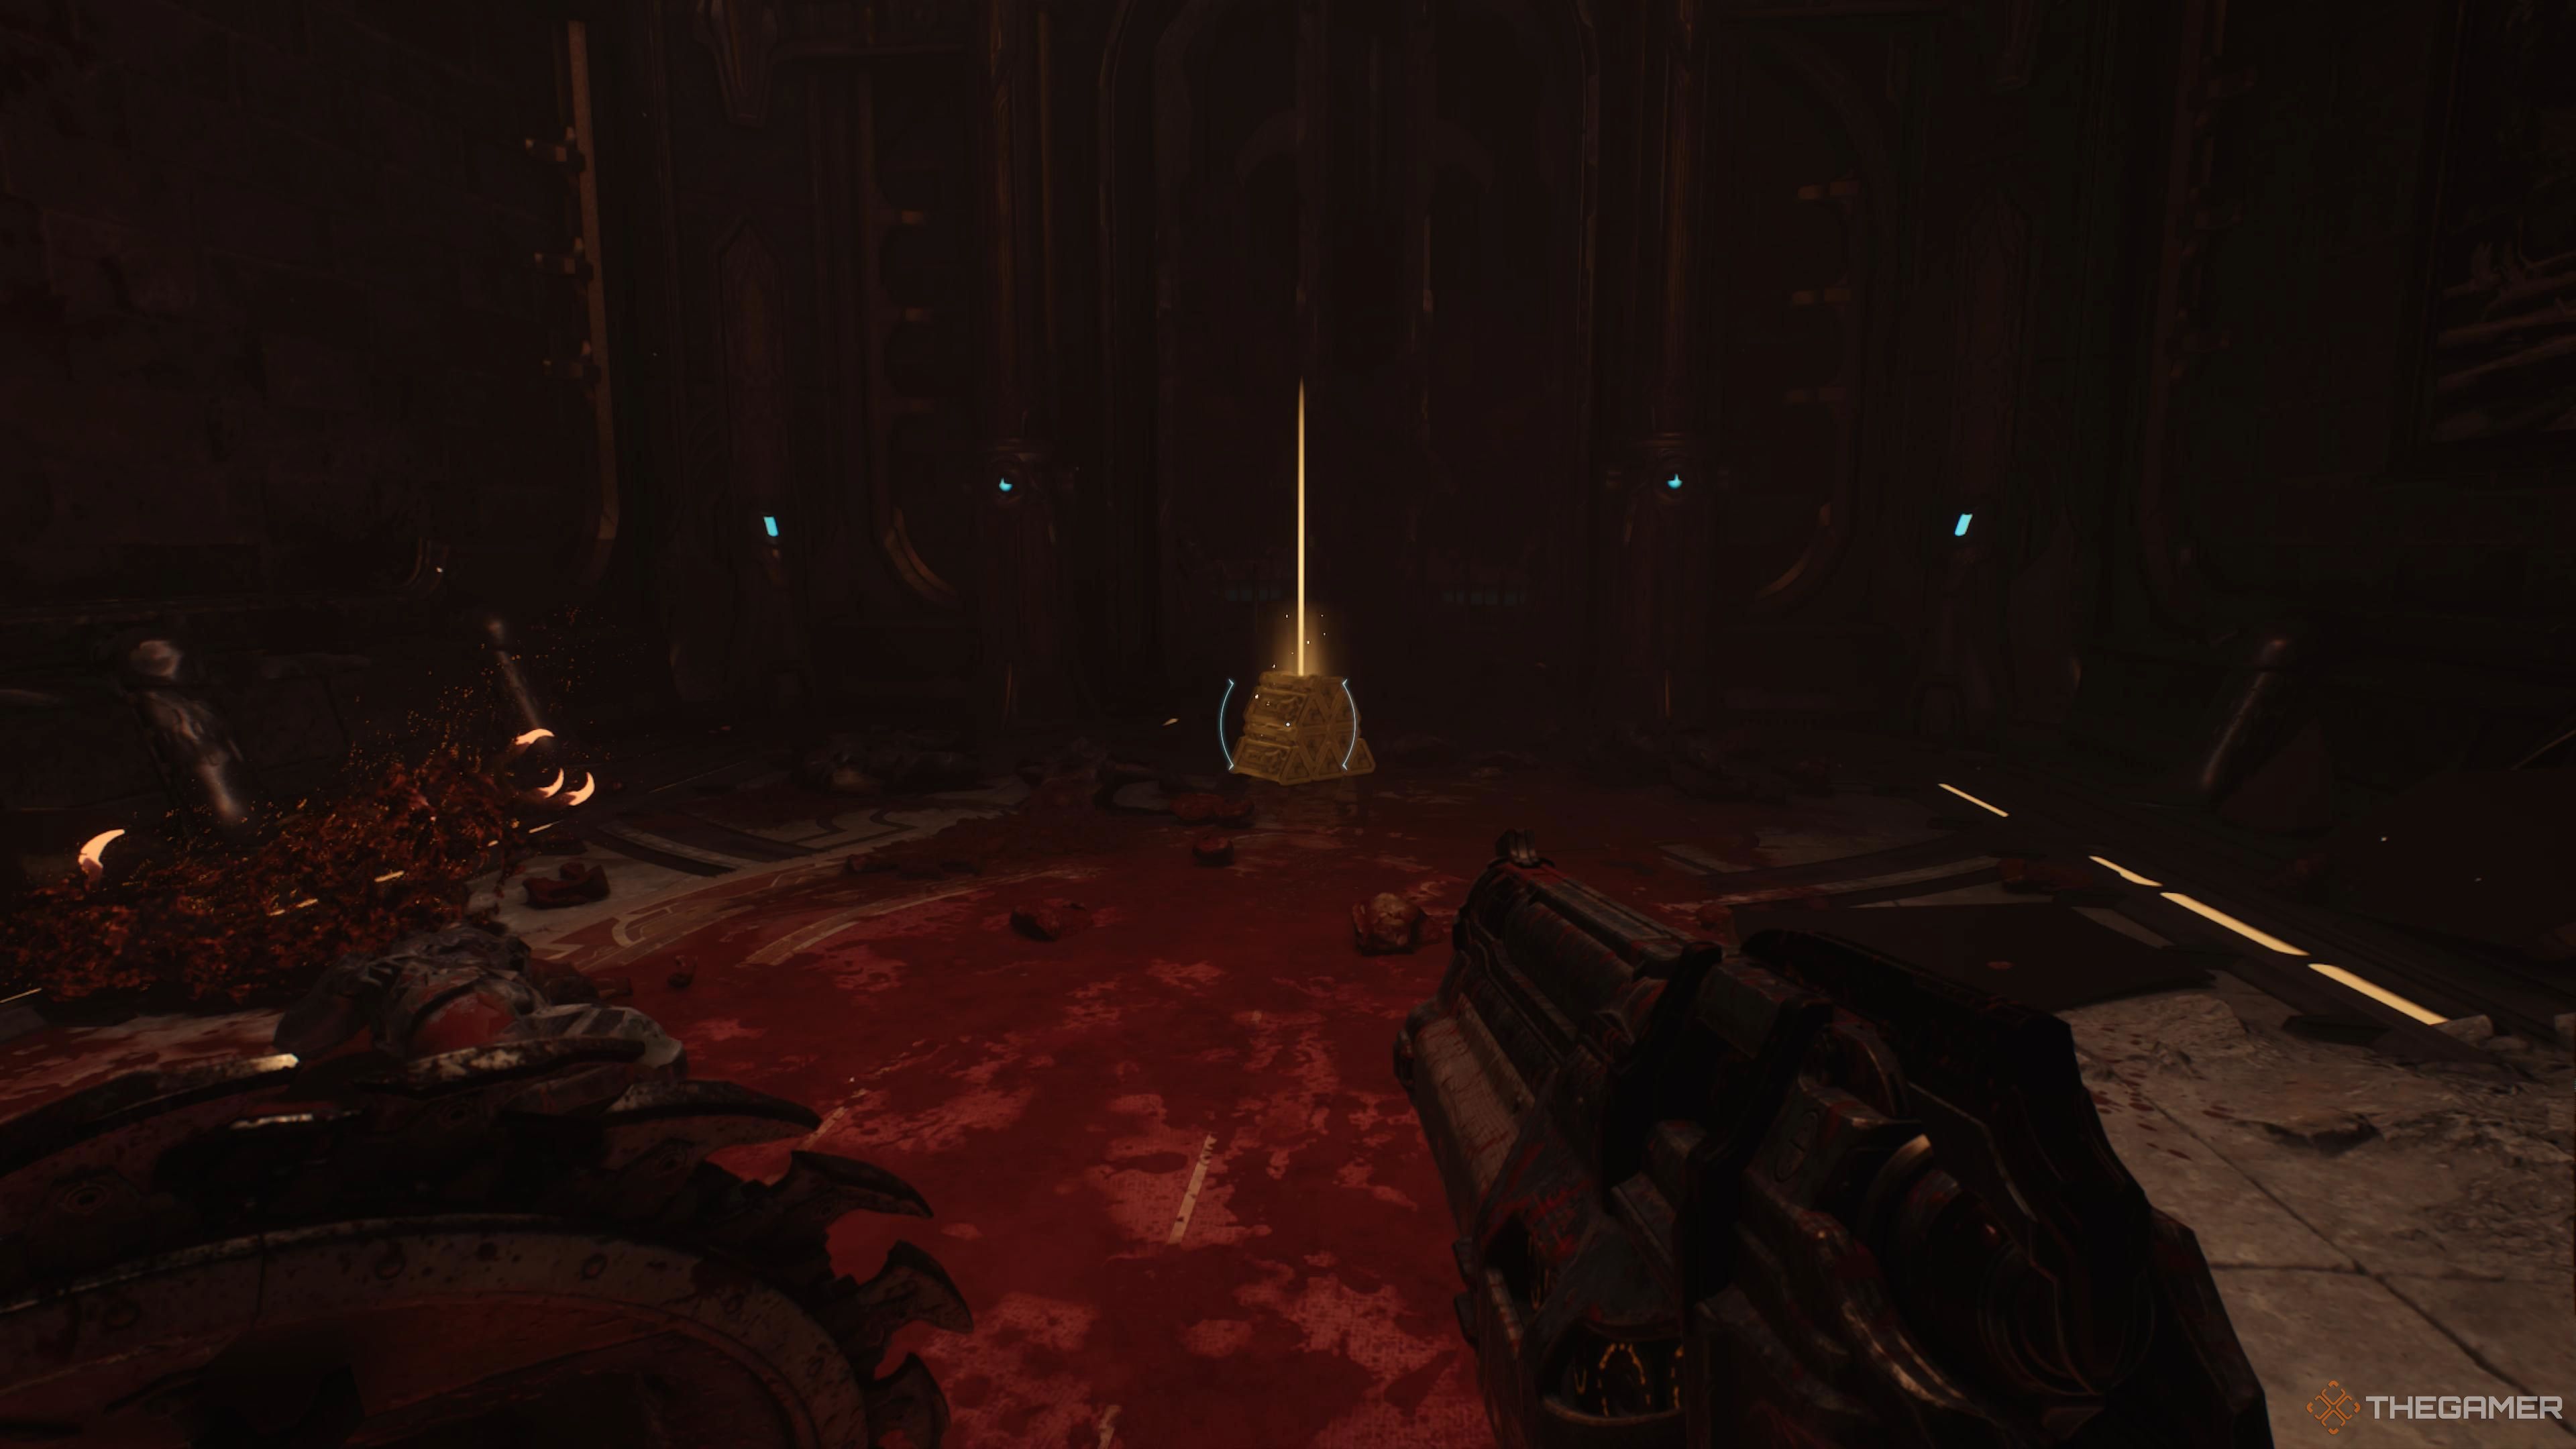

Once you clear out the room with the Revenant (and a few Imp Stalkers as well as a Mancubus), look up, and sever the chain with your Shield. Now, climb up the wall in the corner of the room, and jump up the wall you dropped by severing that chain. Once you do, grab the pile of gold in the back room (you'll need to kill the Imp Stalker inside), and follow the gold trail around the circumference of the room. However, don't leave the room yet, we still have a toy to get!
Aft🅘er this room you'll hop down to the next part of the stage. There is no returning past th🅺is point without restarting the mission.
The Pinky Rider Toy
Instead, jump back over to the platform under the round window. Now, perform a running jump to get to the platform in the corner of the room (near the crumbled wall). Smash through the barricaded🔜 doorway, and hop down into the area below. Follow it up and around, collecting the gold as you go, and grab the Pinky Rider toy. Now, once you have the fiꦜgure, head back the way you came and progress forward into the next section of the stage.
The Second Life Sigil

After jumping down and killing the stalkers, you'll enter a room with a ton of locked doors (you won't be able to get into them yet), and a Pinky Rider Leader paired with two empowered Imp Stalkers. Once you've cleared out both areas, you'll end up in a pretty small room with a bunch of Hell Knights and Mancubuses. Once you clear them out, make sure to grab the Life Sigil in the back corner. Then, head up the stairs.
The Location Of The Secret Key
You'll encounter an Arachnotron, as you are making your way to the second floor. Once there, you'll fight a Revenant and some fodder. Now, once you head into the back dining room, look to your right. Shield Charge through that boarded-up doorway, kill the Nightmare Stalker, collect the gold, and hop onto the launch pad to jump over to the other side of the staไge. You'll get that Sec💦ret Key!
The Boobytrapped Gold Room

In the back room, there is another Arachnotron guarded by a bunch of Shield Soldiers. Toss your shield at them to make them go boom, then melee the big spider. Collect the gold here, then destroy the chain. Don't go through the gate that chain was holding up, though. Instead, turn around and jump into the room below. You'll land inꩵ a room with some gold and recovery items♔.
You'll now be back in the main room. You'🍎ll find gold piled up in the corner, but watch o🐟ut, the gates will close in on you once you enter this room. It will trap you inside a small room with a few Imp Stalkers and a Hell Knight. There will also be a firetrap looking to light you up.
The First Ruby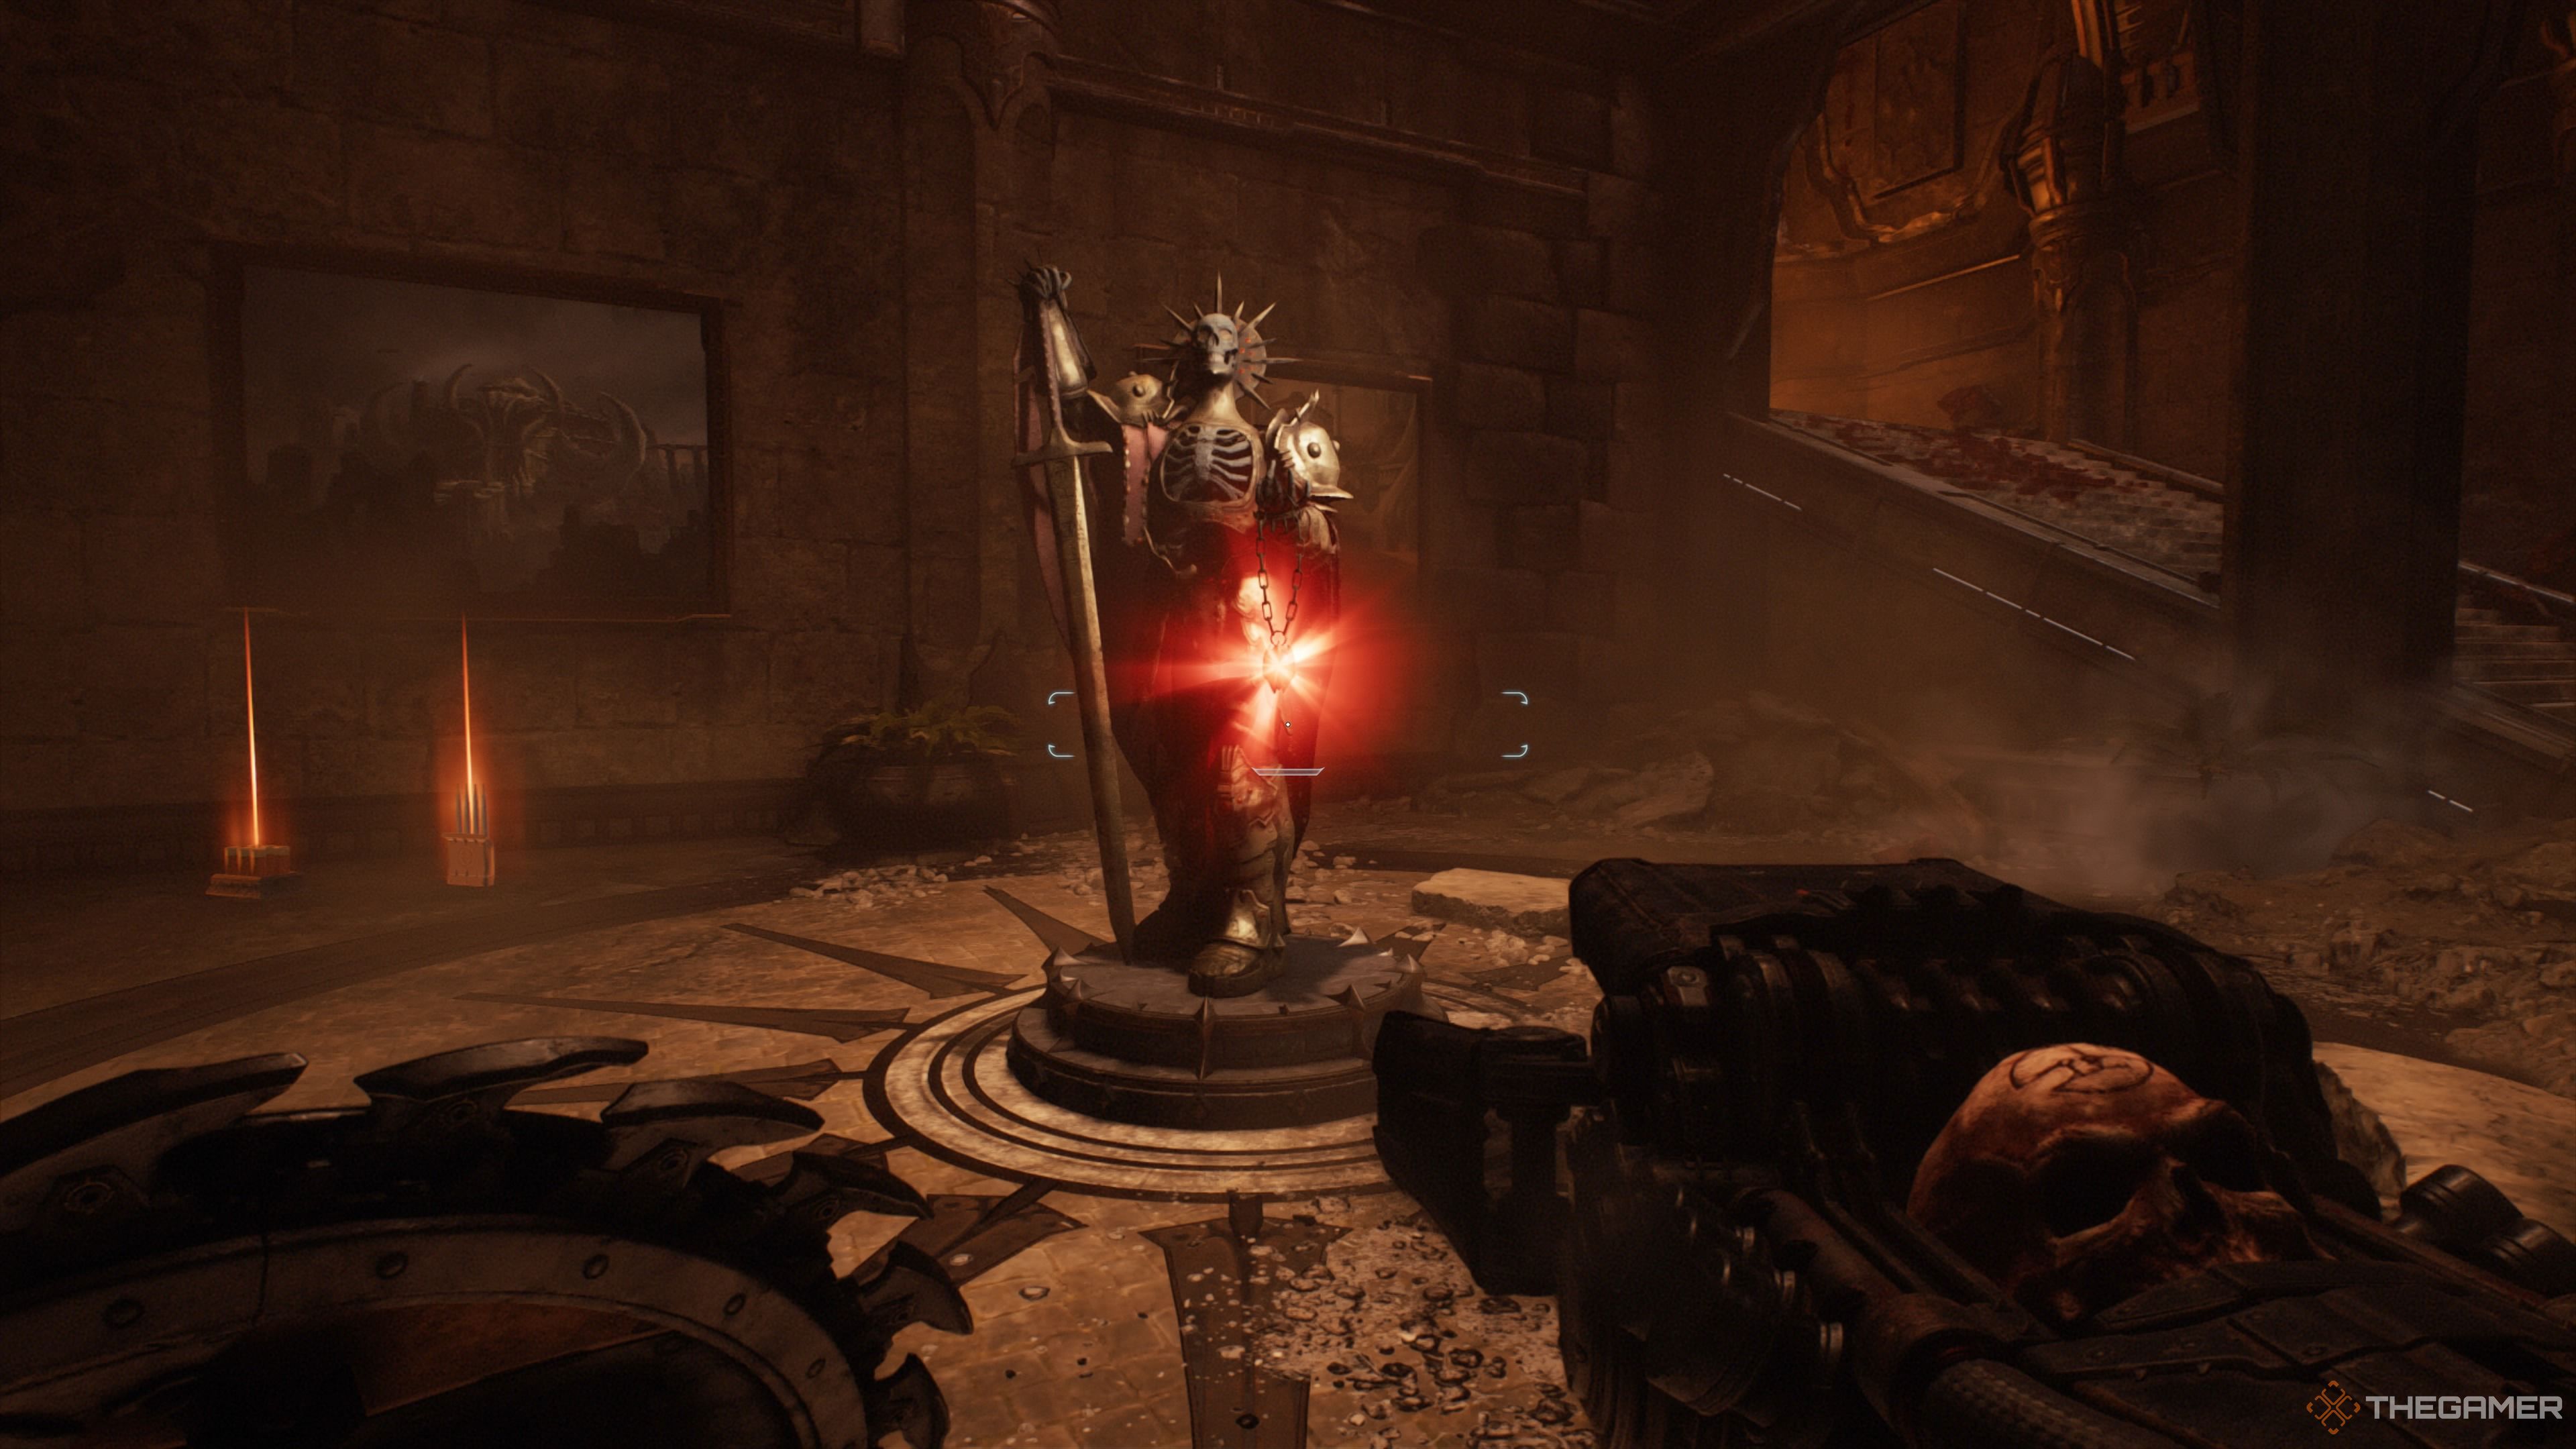

Next, we'll head to the gate openable with the Secret Key in the center of this area. You'll be able to grab a ruby in here, then you'll be attacked by a Mancubus. You can climb the wall at the top of the stairs to get back to the second floor, but instead, leave this room the same way you came, and take a right.
The Codex

In the corner of this area, you'll find another gate you can open with the Secret Key. Do so and you'll find a treasure trail that leads to a codex. Now we can head back up to the second floor! Push forward past that dining room, and you'll fight your way through an extended hallway filled with Imps, Pink Riders, Imp Stalkers, Shield Soldiers, and another Revenant. At the end of this stretch is an elevator. Don't step on that button unless y🍸ou are ready to move forward, as this i🐼s another point of no return.
The Second Ruby

You'll do a little climbing, then end up in a battle against an Arachnotron, Hell Knights, Imp Stalkers, and a Revenant. Once you take them out, head to the back corner, where all the shipping containers are piled up. You'll be attacked by a Hell Knight back here. Now, cl♌imb up, and you'll be able to grab the second ruby.
Smash into the damaged ship. Head left, and jump over the boxes to get some gold, then, jump down the hole in the hull. This is another point of no return, so make sure you've gotten that ruby already!
The Final Treasure Chest And Life Sigil
Once you've taken out all the enemies in the lower area, climb the wall, sever the chain in the room that's on fire, but don't climb up the wall that drops. Instead, jump down, and head into the room beside the climbable wall to get a treasure chest. Then, climb up the boxes outside this room, and head in through the hole in the wall to get a Life Sigil.
Demonic Essence

Now, all that you need to do is to climb up the scalable wall, and to square off against a massive horde of demons. This will include Shield Soldiers, Hell Knights, and a Cyberdemon. Once you put them down,🐠 you'll be attacked by a Hell Knight Champion. Once you kill them, you'll get a Demonic Essence that w🍒ill permanently increase your armor.
If you haven't completed all your challenges yet, there are a ton of fodder demons in this battle, making it the perfect place to take out multipl🎉e demons with a shield throw!

🥃168澳洲幸运5开奖网: Doom: The Dark Ages: 8 Combat Tips
This Doom: The Dark Ages guide w🌠ill tell you everything you need to know about ripping and tearing!